
Activity – Word long document 2: Customised TOC and section breaks
[This section should take you around 20 minutes to complete]
You have learnt how to build an Automatic Table of Contents in the previous activity. Automatic Table of Contents is easy and quick to build, but you have no control over:
- the formatting of the TOC, such as font, font size, line spacing, bold, italic, …
- how many levels of headings to include in the TOC,
- whether to show or hide the tab leader (dotted line) and/or page numbers.
To gain full control of the Table of Contents, you need to build a Customised Table of Contents, instead of an Automatic Table of Contents.
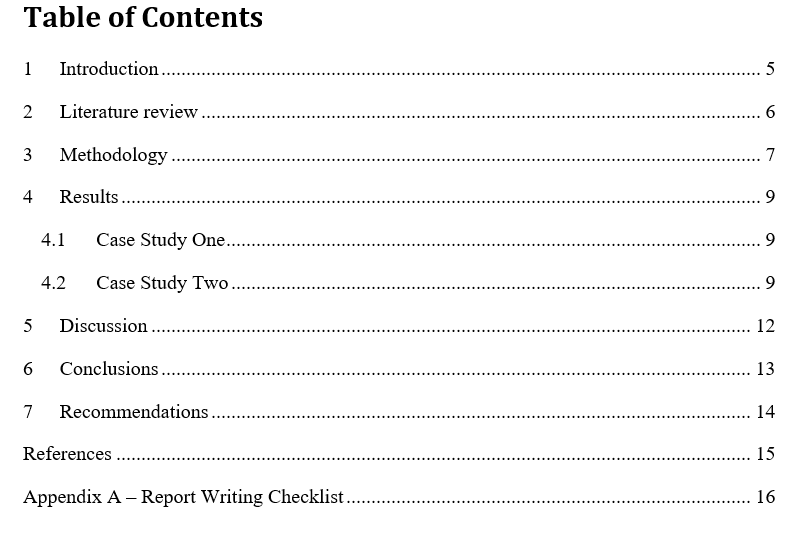
Now, let’s build a customised Table of Contents with the following requirements:
- Include Headings formatted with Heading 1 and Heading 2 style only,
- Show page numbers at the right margin, preceded by dots tab leaders.
- Headings in the TOC should be in font Times New Roman, size 12pt
- Spacing between all headings in the TOC should be 1.5 lines.
Let’s first download the long document contained in the activity file:
- In Learnline open your TEP021 unit.
- Go to Weeks 7-9 in ‘Learning Materials’, then click to open Week 7.
- Click to download TEP021 Word Activity Long Document Sheet 2 to your computer.
- Double-click the downloaded file to open it.
- Click the File tab and select Save As to save the document as YourName StudentNumber TEP021 Word Long Document 2 in your OneDrive folder.
Working with this downloaded document (YourName StudentNumber TEP021 Word Long Document 2):
1. Scroll to page 4 and click below Table of Contents to position the insertion point (cursor) below the heading.
2. On the References tab, click Table of Contents
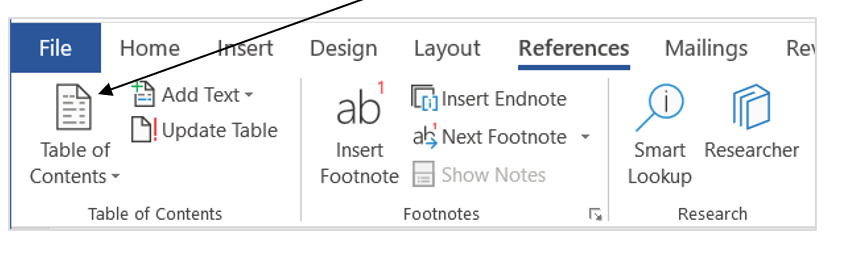
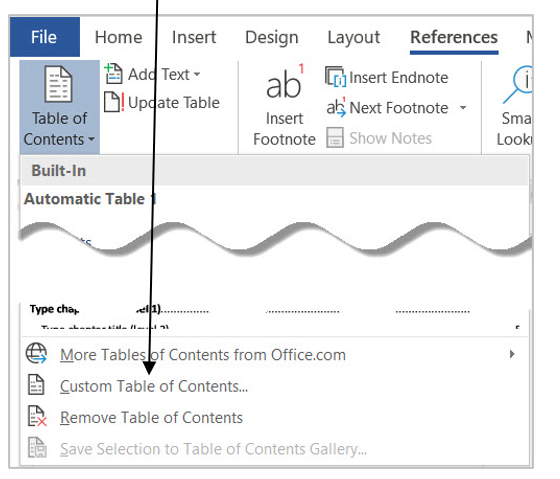
3. Click Custom Table of Contents.
4. Tick both boxes to show page numbers at right.
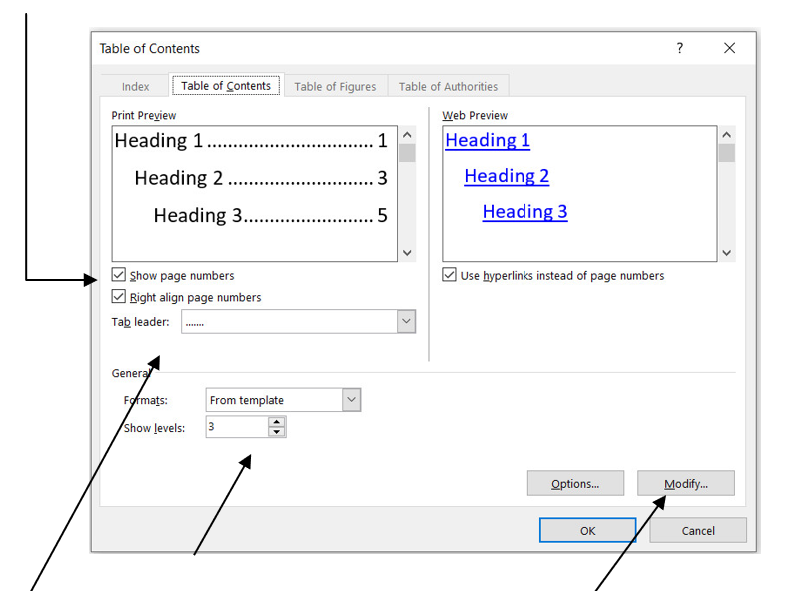
5. Choose a Tab leader.
6. Change the number to 2 to include only Heading 1 and Heading 2 levels in TOC.
7. Click Modify to change the formatting of the TOC.
Style TOC 1 corresponds to Heading 1 in the Table of Contents. To change the formatting of Heading 1, you need to modify TOC 1.
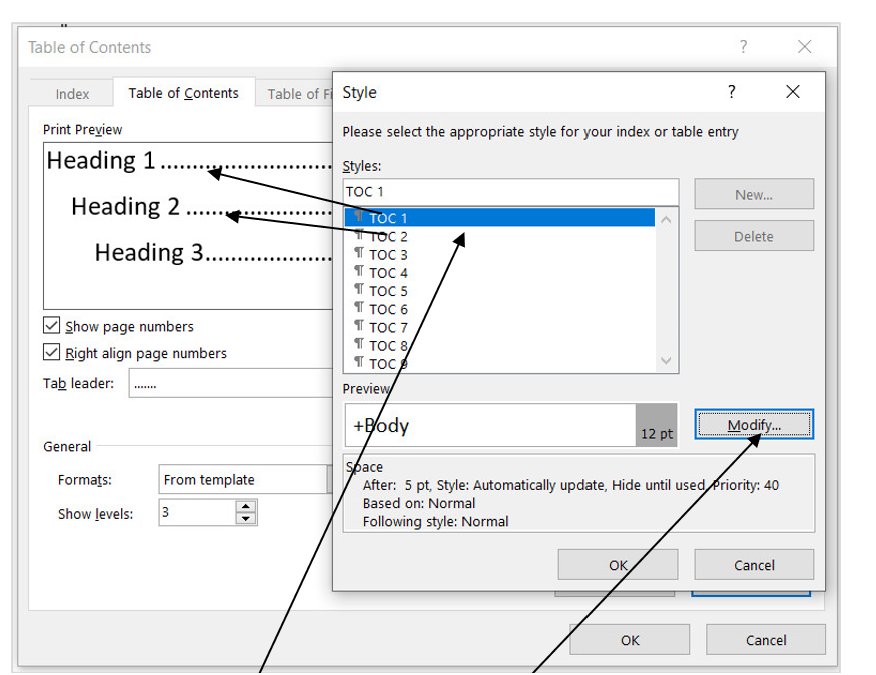
8. Select TOC 1 and then click Modify.
9. Change Font to Times New Roman, Font size 12 pt., line spacing to 1.5.
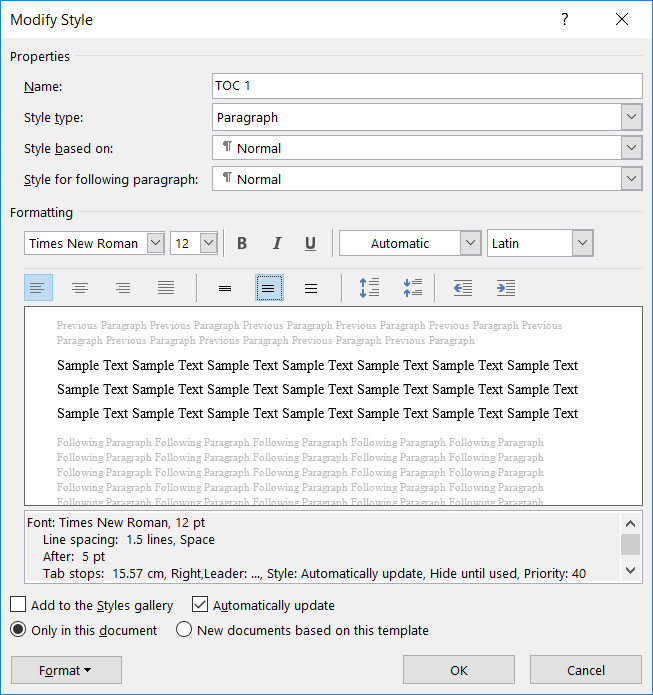
10. Click OK.
11. Select TOC 2 and repeat steps 7-9 to modify the formatting for Heading 2.
If your Table of Contents has more than one heading levels (e.g., Heading 1, Heading 2, Heading 3, …), you need to repeat steps 7-9 to modify each of the corresponding TOC levels.
Click OK on each dialogue box to close them. When all dialogue boxes are closed, a customized Table of Contents will be inserted into your document.
13. Save your document.
Starting page numbering later in a document
Now, let’s have a quick look at the structure of the document.
The first 4 pages, the Title page, Acknowledgements section, Abstract section and the Table of Contents section are usually referred to as Preliminary Material.
Page 5-14 are the Body of the document.
Page 15-16, References and Appendix are the Supplementary Material.
In academic writing, page numbering normally starts from the first page of the Body section, which means in this document page 1 should be on the fifth page, the page with the heading 1 Introduction. The Preliminary Material section usually has no page numbers or can have its own page numbering different from the Body section, usually in Roman numerals.
To include different page numbering system or start page numbering later in a document, you need to use Section Breaks.
Section Breaks
In a word processor, such as Microsoft Word, a section break splits your document’s pages into sections that can have a different format or layout. Each section can have its own margins, header and footer, columns, page orientation, different other sections in the document.
Now let’s format your document so that
there is no header and footer, no page number on the Title page;
page number starts from the Introduction page with 1;
Acknowledgements, Abstract and Table of Contents pages have their own page numbering in Roman numerals.
To achieve this, we will split the document into three sections with Section Breaks:
- Section 1: Title page,
- Section 2: Acknowledgements, Abstract and Table of Contents,
- Section 3: rest of the document
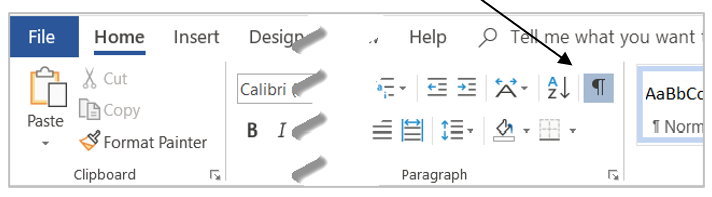
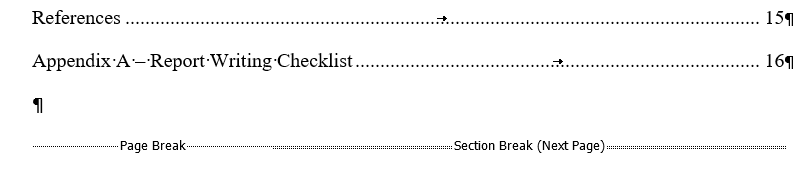
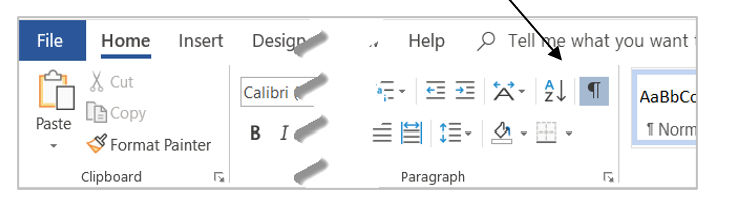
1. On the Home tab, click the Show/Hide formatting characters button to turn it on so that you can see your Page Breaks and Section Breaks.
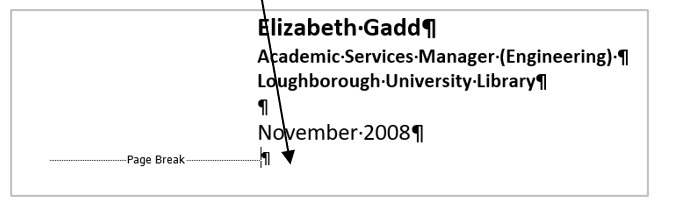
2. Navigate to the end of the Title page.
3. Click on the right end of the Page Break sign to place the cursor after the Page Break.
4. On the Layout tab, click Breaks.
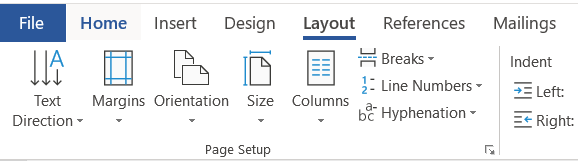
5. Click Next Page under Section Breaks.
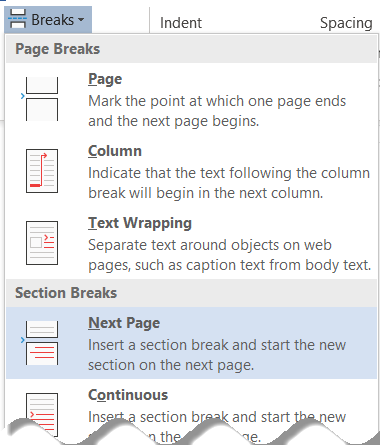
A Section Break (Next Page) is inserted.

6. Navigate to the end of the Table of Contents page and then click on the right end of the Page Break sign to place the cursor after the Page Break.
7. Repeat steps 3-5 to insert another Section Break (Next Page).
These two Section Breaks have split the document into three sections.
8. Navigate to the bottom of the Title page and double click the Footer area.
9. Footer and Section information shows up. It shows that this is the Footer of Section 1, and there is a page number in the middle.

10. Delete the page number in the footer because the requirement for the Title page is “no header and footer”.
Scroll up to the header of the Title page to check if there is anything to delete. Make sure there is nothing in the header and footer on the title page.
11. Scroll down to the Footer of the next page and you will see Footer – Section 2.
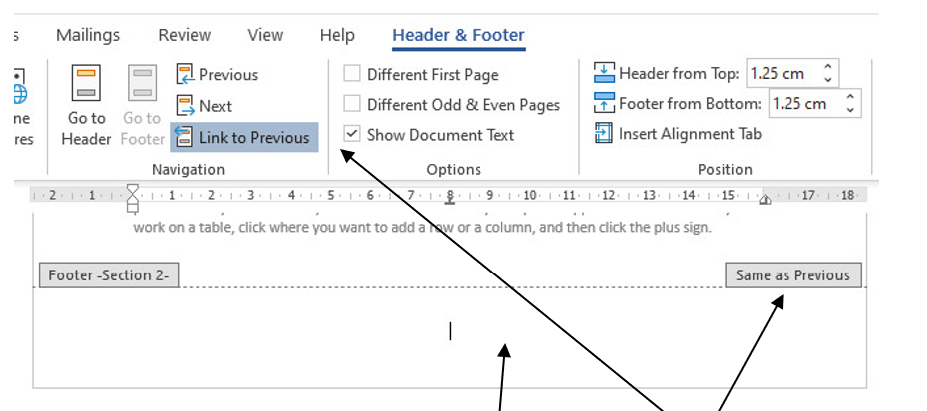
Notice that on the right-hand end it shows Same as Previous. It means the footer of this section is linked to the previous section and is exactly the same as the footer in the previous section. Anything added/deleted in the footer of one section will be added/deleted in the other section too. To have different footers for each section, you must break (turn off) the link.
12. Click in the footer area to place the cursor in the footer and then click Link to Previous to break (turn off) the link. The Same as Previous sign disappears.

13. Scroll down to the first page of section 3 (the Introduction page) and repeat step 12.
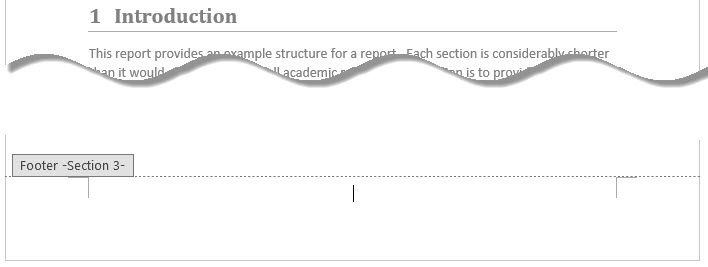
14. Now insert a page number in the footer of the section 3.
15. Notice that the page number shows 5 (even though there is no page numbers shown on the previous pages) because this is the fifth page of the document. We need to make the page number start from 1 on this page.

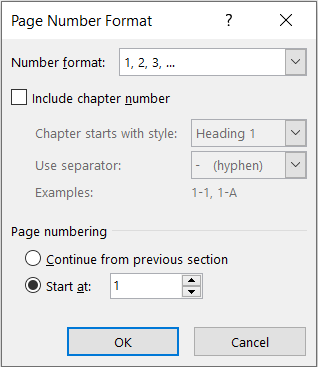
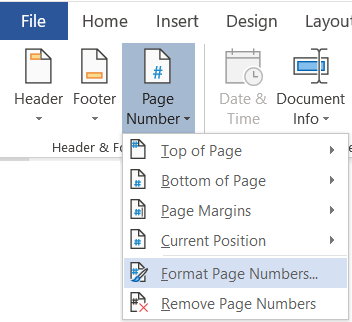
16. Click Page Number and then select Format Page Numbers.

17. Click Start at and set the number to 1, then click OK.
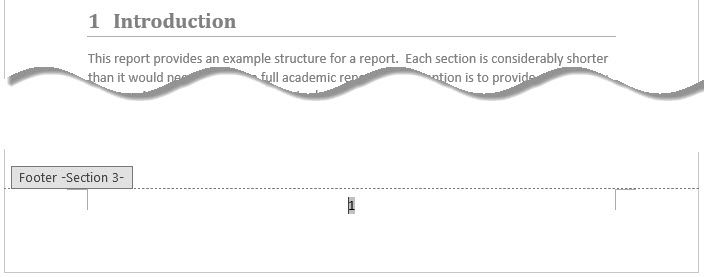
18. Now the page number on the Introduction page becomes 1.
19. Scroll up to the Acknowledge page, the first page of Section 2.
20. Click in the footer area to place the cursor in and then insert a page number in the middle.

21. Click Page Number and then select Format Page Numbers.
22. Click the box for Number format and select i, ii, iii, …
23. Click Start at and set the number to i
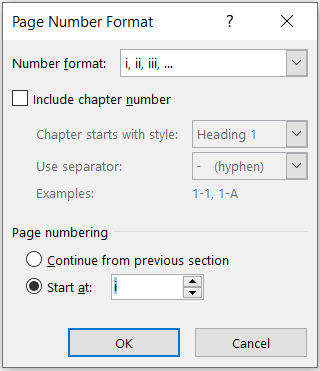
24. Click OK.
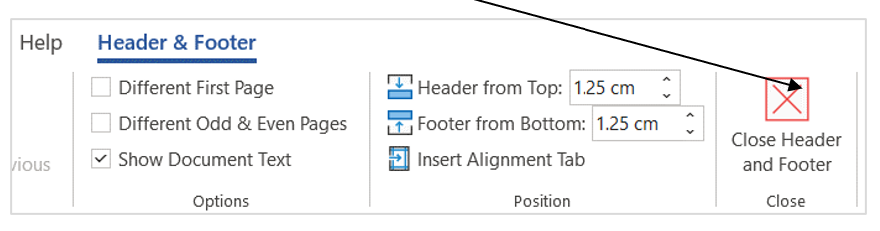
25. Click Close Header and Footer.
26. On the Home tab, click the Show/Hide formatting characters button to turn it off.
Now scroll to review your document, if you have followed the instructions correctly, you should have a document as follows:
- There is no header and footer, no page number on the Title page;
- Acknowledgements, Abstract and Table of Contents pages are numbered in Roman numerals i, ii, iii.
- Rest of the document contains a numeral page number, starting from the Introduction page with 1.
27. Update your Table of Contents because the page numbers have been changed.
28. Save your document YourName StudentNumber TEP021 Word Long Document 2 and close it.
29. Upload the completed activity Word long document 2 to the Learnline submission point with Assessment 3 (Long Document 3).