
Activity – PowerPoint 4: Multimedia Presentation
[This section should take you around 25 minutes to complete]
Activity PowerPoint 4: Multimedia Presentation
- Create a folder in the Documents folder of your computer and name it PowerPoint 4..
- Download this audio file and this video file into the PowerPoint 4 folder you just created (right click ‘audio file’ or ‘video file’ above and select Save link as or Save target as).
- Start a new PowerPoint presentation document.
- Create a presentation with the following information:
Slide 1 (Title slide): My Multimedia Presentation
<Your Name>
Slide 2: What is a Multimedia Presentation?
A multimedia presentation typically contains at least one of the following elements:
-
-
-
- Video or movie clip
- Sound (this could be a voice-over, background music or sound clips)
-
-
Slide 3: Media File Formats
-
-
-
- PowerPoint supports only some formats of audio and video files, NOT all.
- Recommended formats to use in PowerPoint:
- Audio: mp3, wav
- Video: mp4, avi
-
-
Slide 4: Copyright & Fair Use
-
-
-
- Be aware of copyright issues
- Check “Terms of Service/Use”, at the bottom of the website, before downloading.
- Do not download from those websites providing pirated materials.
- Avoid copyright issues by searching for CC licensed and Public Domain materials that are free to use and share
-
-
Slide 5: YouTube Videos
-
-
-
- It is a breach of Google’s Terms of Service to download YouTube videos.
- YouTube videos can be viewed only:
- on the YouTube website,
- using the app or embedding code provided by Google. Inc
- YouTube videos are intended for real-time viewing via the internet and not intended to be downloaded (either permanently or temporarily), copied, stored, or redistributed by the user.
-
-
Slide 6: Where to Get Media Files
-
-
-
- Create your own media files
- Purchase
- Download from the source that grants permissions (such as NASA website)
- Use the media files in the Public Domain
- Use the media files under the Creative Commons licence
-
-
Slide 7: Hints and Tips
-
-
-
- Store the PowerPoint presentation file and all its associated media files in the same folder.
- Take the whole folder if you need to present on a different computer.
- Link rather than embed large media files.
-
-
Slide 8: Inserting a Movie
(This slide contains a title only. You will insert a video on it later.)
7. Click the File tab and select Save As to save the presentation as Your Name TEP021 PowerPoint 4 into the PowerPoint 4 folder in your Documents folder.
8. Apply a theme of your choice.
9. Add animations and slide transitions to each slide.
10. Add a new slide at the end.
11. Enter References as the slide title and apply centre alignment to it.
12. Build a reference list on the slide for the audio and video files using CDU APA referencing style.
13. Save your presentation document and keep it open.
Inserting Audios
PowerPoint allows you to add audio to your presentation in several different ways. You can add audio from a file, or by recording audio directly into a slide. You can choose to play the audio file through the entire presentation as the background music, or only when one slide is showing. You can also set the audio file to start automatically or manually.
Inserting an Audio from File
- Click on Slide 3. You are going to add an audio file to this slide.
- On the Insert tab, click the Audio icon.
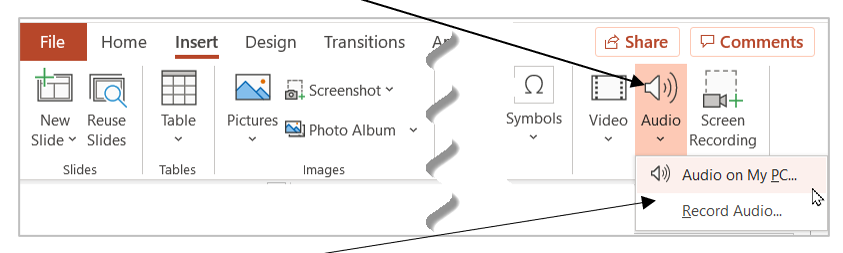
3. Select Audio on My PC from the menu.
4. The Insert Audio dialogue box will appear. Locate the sound file on your computer.
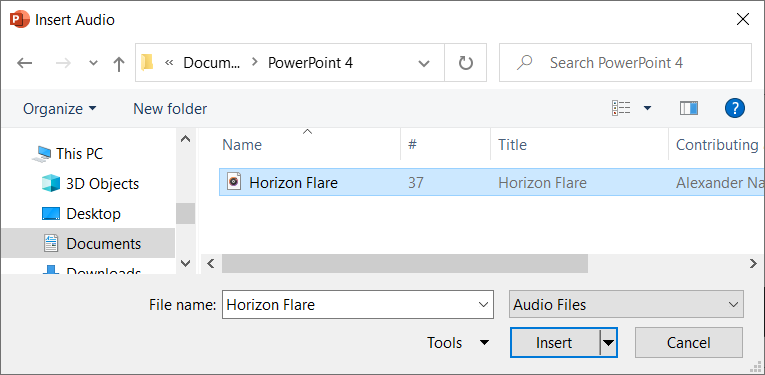
5. Select the desired audio file and click Insert.
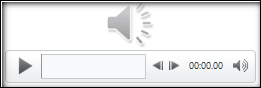
An audio icon will appear on the slide. You can preview your audio file by clicking the play button.
6. Click and drag the audio icon to your preferred location on the slide.
Setting Playback Options of the Audio Files
After inserting the audio file into the slide, you need to set how and when the audio is to be played when you give the presentation.
- Click the audio icon to select it.
- Click the Playback tab.
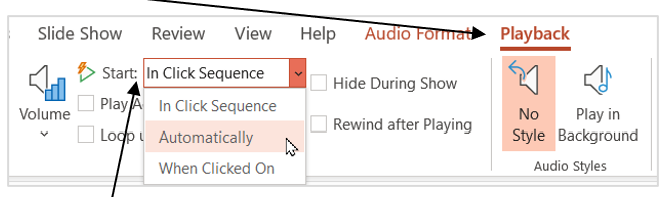
3. Click the Start menu and select Automatically.
-
-
- In Click Sequence: The audio plays in sequence with other actions you’ve programmed on the slide (such as animation effects). This option doesn’t require a literal click. You can trigger the audio to begin with a clicker or any other mechanism that activates the next action on the slide (such as pressing the right arrow key).
- Automatically: The audio plays when the slide appears.
- When Clicked On: The audio plays only when/if you click the play control beneath the speaker icon.
-
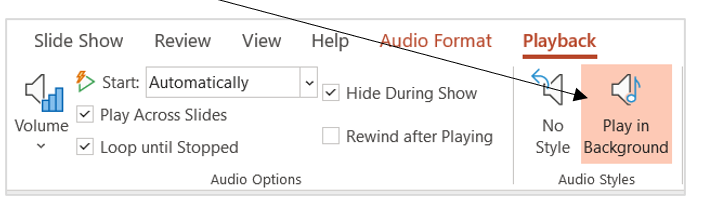
4. Tick the boxes for Play Across Slides and Loop Until Stopped.
Play Across Slides. The audio will continue playing beyond the current slide.
Loop Until Stopped. This option causes the audio to repeat until you stop it or leave the slide.
Hide During Show. This option hides the speaker icon and the audio play controller on the slide when the presentation is on.
Rewind After Playing. Choose this option to reset the audio back to its beginning.
5. On the Slide Show tab, click From Start to play your presentation to see the effects of the audio file.
6. Save your presentation.
Set Background Music for Your Presentation
PowerPoint provides a shortcut to set background music for a presentation. Clicking Play in Background in Audio Playback tab will set the music to play from the current slide to the end of the presentation.
Deleting an Audio File from the Slide
If at any time you want to delete an audio file from the slide, simply click the speaker icon on the slide and press the Delete key.
Recording Audios for a slide
You don’t have to always record and save an audio file in another program and then insert into your slide. With the Record Audio feature provided in PowerPoint, you can record and insert a short talk to a slide while you build your slide.
You need to have a microphone connected to your computer to use this feature.
- Click on Slide 2. You are going to record audio to this slide.
- Click the Insert tab, then click Audio and select Record Audio.

3. Click the Record button and then read the text on the slide loudly.
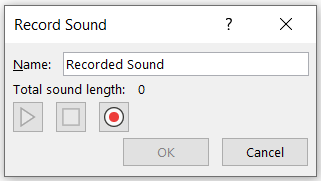
4. Click the Stop button when you finish reading.
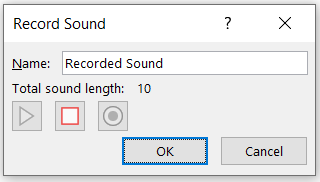
5. Click the Play button to listen to your recording.
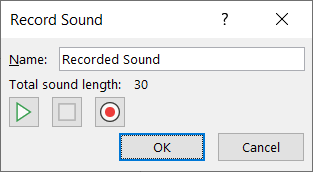
6. Click OK to save and insert your recording to your slide if you are happy with it or click Cancel to discard it if you are not satisfied (if you click Cancel, repeat the above steps to record again until you are satisfied).
7. Save your presentation.
Inserting Movies/Videos
PowerPoint also allows you to insert videos on your slides. You can insert a video file on your computer or embed YouTube videos. In addition, PowerPoint gives you many options to define how the video will operate in the presentation.
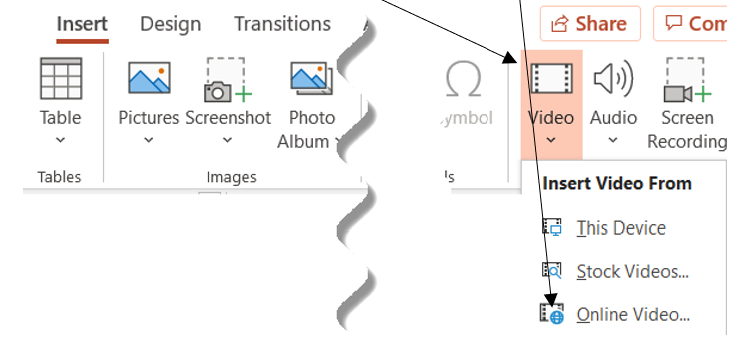
Insert a Video from a File on Your Computer:
1. Click on Slide 8. This is where you are going to insert a movie.
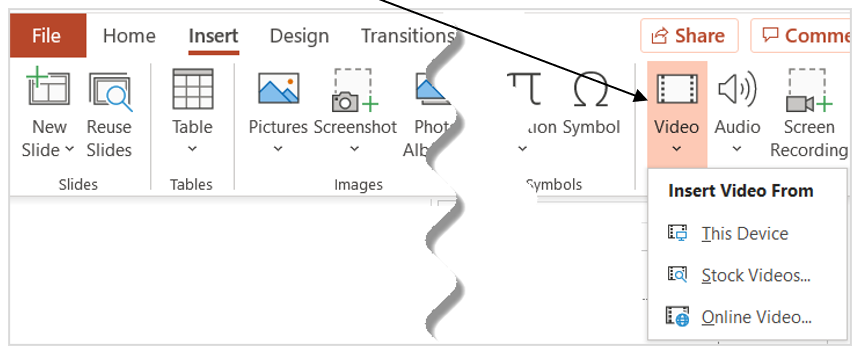
2. On the Insert ribbon, click Video and then select This Device.
3. Locate the file you want to insert on your computer.
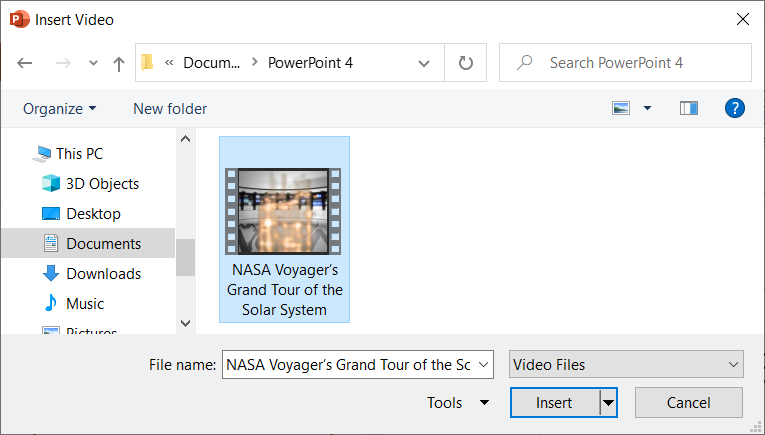
4. Click Insert.
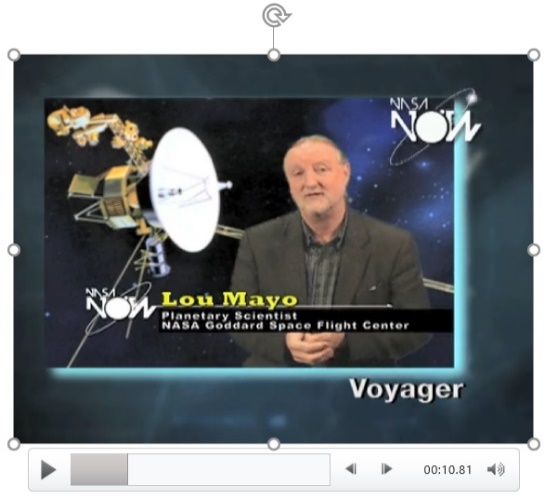
5. Resizing handles are located around the movie. Drag handles to resize the video to your preferred size.
When you click the Insert button, PowerPoint embeds the media file (video or audio) in the presentation by default. This increases the size of the presentation file dramatically. It may also increase the loading time and make the presentation clunky if you insert a very large media file.
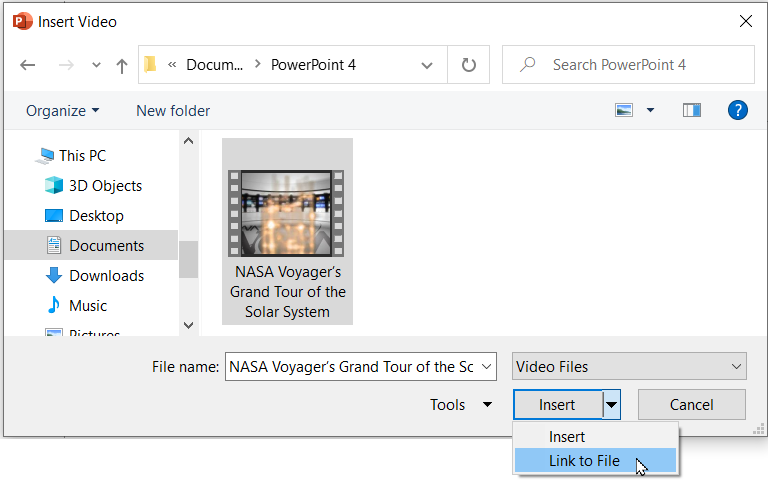
It is recommended to click the drop-down arrow next to the “Insert” button and select “Link to File” option for large media files.
“Link to File” keeps the size of the presentation file down, but the linked file will play only when the link remains unbroken. Hence, you must put the presentation file and media file(s) in the same folder before inserting the media file(s) into the presentation using Link to File. When you move the presentation file to a different location/computer, you must move the whole folder. Otherwise, the link will be broken and the media file will not play.
Changing the Poster Frame
The Poster Frame is the picture displaying on the slide for the video when the video is not playing. If you do not like the default poster frame, you can choose a frame in the video or any picture on your computer to replace it.
1. Using the controller underneath the video, play the video and then pause when you see the desired picture for the Poster Frame.
2. Click the Video Format tab.
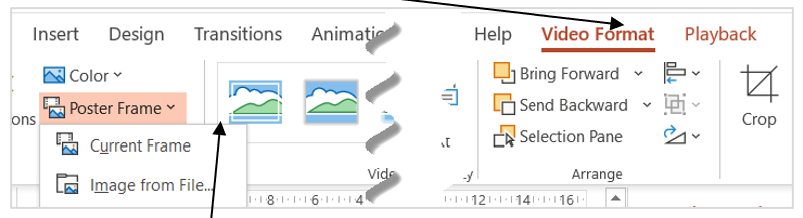
3. Click Poster Frame and select Current Frame.
4. Save your presentation.
5. Play your presentation from the beginning to preview the effects.
Note. You may have noticed that the music did not stop when the video was played. The setting, Play Across Slides and Loop Until Stopped, make the music play across the entire presentation. To stop the music before the video, you need to tell PowerPoint where to stop by setting the number of slides the music to play across.
Insert/embed an online video
There are many videos you can play online but you are not allowed to download, such as most YouTube videos. Fortunately, PowerPoint provides a feature to embed online videos in slides without the need of downloading.
- Insert a new slide before the References slide.
- Change the slide layout to Title only.
- Type Inserting an Online Video as the slide title.
- Open your web browser and go to YouTube website.
- Search for a video of your interest. If you are not sure what to search for, you can click the link https://youtu.be/Guj5TjzjBGw and use this video.
- Click Share below the YouTube video.

7. Click Copy to copy the link to the video.

8. Switch back to your PowerPoint presentation slide. Make sure you are on the slide “Inserting an Online Video”.
9. Click the Insert tab, and then Video, select Online Video.
10. Right-click in the box and select Paste.
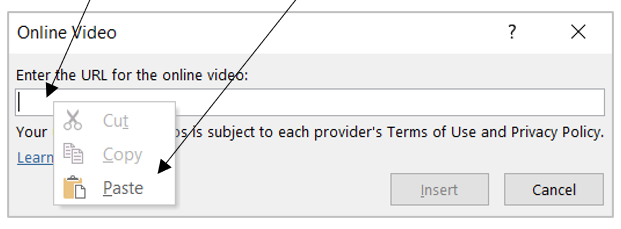
11. Click Insert.
12. After a few seconds, the video shows on the slide.
13. Resize the video to fit the slide.
14. Click the Play button on the video to play.
15. Add the APA reference of this video on the References slide.
16. Save your presentation.
17. Play your presentation from the beginning to see the effects.
18. Upload the PowerPoint 4 folder to the TEP021 folder on OneDrive.
Deleting a Video File from the Slide
If at any time you want to delete a video from a slide, simply click the video clip on the slide and press the delete key.
PowerPoint 4 Media Files
Audio: Horizon Flare.mp3
Source: FreePD.com, Public Domain Music
Initial Source URL: https://freepd.com/romantic.php#LinkToRevealHideComments
Current Source URL: https://www.youtube.com/watch?v=hHecNRgfXYE
Title: Horizon Flare
Artist: Alexander Nakarada.
Video: NASA Voyager’s Grand Tour of the Solar System.mp4
Source: NASA – Video Gallery Video
Title: NASA Now Minute: Space Science: Voyager’s Grand Tour of the Solar System
Source URL: https://youtu.be/S-Zh4gmrHok
NASA Media Usage Guidelines: https://www.nasa.gov/multimedia/guidelines/index.html