
Activity – PowerPoint 6: Recording a presentation – Careers in IT
[This section should take you around 20 minutes to complete]
By now, you should have a better idea about how to create an effective presentation and how to deliver a presentation. Sometimes you will also be required to record the presentation to deliver the final product. The Record Slide Show feature allows you to record voiceover narration for the entire presentation and include a video of yourself as you speak. This is useful if you plan to use your slide show as a self-running presentation or video. To record a presentation, you need to have a microphone for your computer and a webcam. All modern laptops have built-in microphones and webcams. You can also connect a USB microphone and/or a USB webcam to your computer. If you do not have this equipment please contact your lecturer immediately to make a reasonable adjustment for the workbook assessment. Please also note that this activity is all about you becoming familiar with using the features of PowerPoint and presenting a recorded presentation, rather than careers in IT!
Watch a video
Record narration and timings
- Open YourName StudentNumber DigiPrep PowerPoint 3
You can start recording by clicking the Record button in the upper-right corner of the ribbon, OR
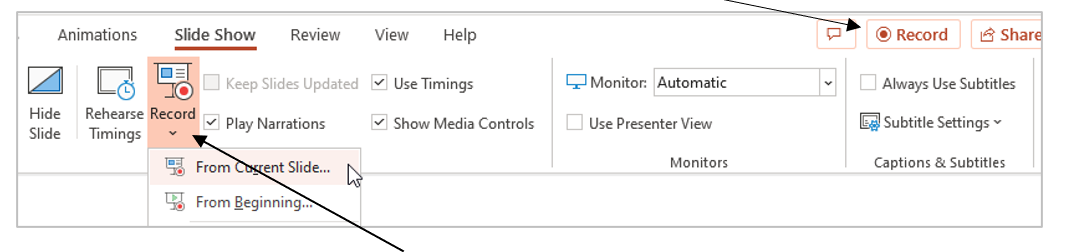
2. On the Slide Show tab, click Record and then choose from two options:
-
- From Current Slide – to record from a specific slide
- From Beginning – to record from the beginning of a presentation
3. Now you are in the Record Mode. Before you start to record, take some time to learn about the tools and control buttons in the Record mode.
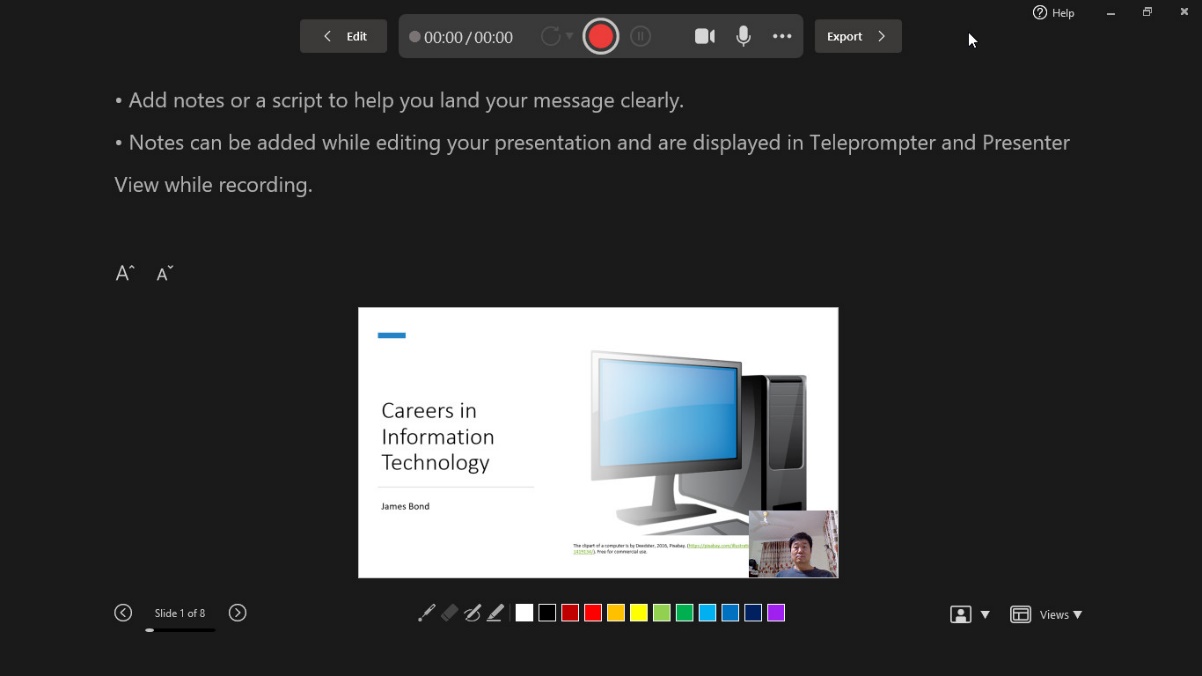
Camera 
4. Include a video of yourself (presenter) if you have a webcam so that when the audience watches your presentation later, they not only see your slides but also see you talking, just like a live presentation.

You can turn on or off the webcam by clicking the video camera icon , but it would always be better if the audience can see the presenter.
Note that older versions of PowerPoint will not sow the Edit menu option.
Speaker Notes
Add some speaker notes. In record mode, the notes will appear above the slide to help you remember what you will say.

It is highly recommended that you use the speaker notes feature in PowerPoint instead of any paper notes so that you can always keep eye contact with the audience/camera while recording.
Back to Edit Mode 
If you need to make changes to your slides or enter speaker notes, click the Back-to-Edit-Mode button.
Presentation Tools

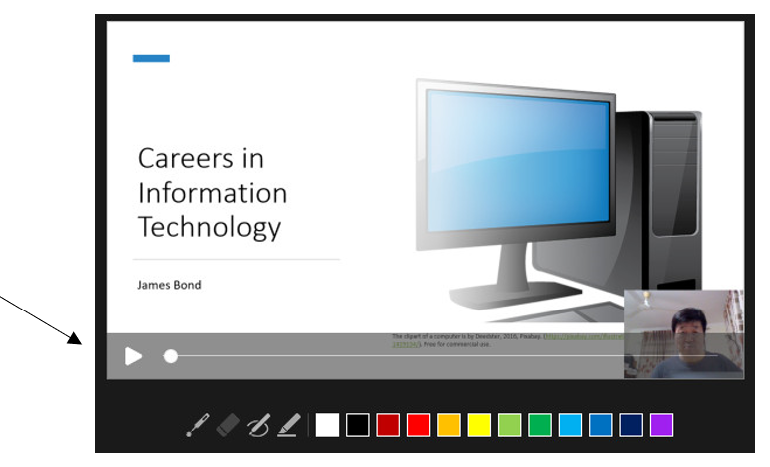
You can use the Presentation Tools (Laser Pointer, Pen, Highlighter and Eraser) to mark up your slides while presenting.
Slides Control buttons 
You can click the Previous or Next button to go to any slide before you start recording. Once you have started your recording, you can use the Next button to advance to the next slide/animation.
You can also press the Space bar or the right-arrow key to advance to the next slide/animation when recording.
3. Click Start when you are ready to record, wait for the countdown and then start speaking.

4. Click Stop when you finish on the current slide.

5. Click Replay to listen to your recording.
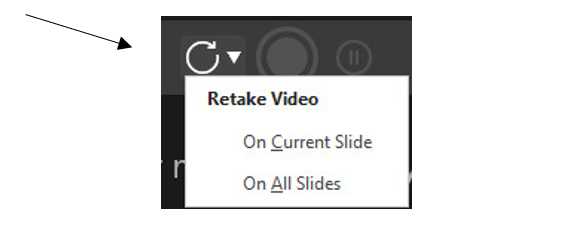
6. Click Retake Video and select On Current Slide if you are not happy with the recording on the current slide and want to re-record. (Note: if you select On All Slides, your recordings on all slides will be wiped out!)
7. Click the Next button to move on to the next slide to continue recording.

8. Click the Edit button to exit the record mode if you want to stop recording and go back to edit mode.

9. Save your presentation after you exit the record mode.

Export the Recorded Presentation as a Slide Show or a Video
When you finish your recording, you can save your recorded presentation as a Video or a Slide Show.
To save it as a Video:
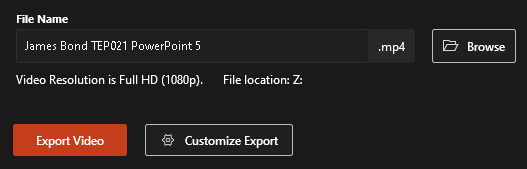
1. In Record mode, click Export. (Click the Record button to enter Record mode if you are in Edit mode),

2. Click Customise Export.
3. Click to select an appropriate file size and quality to suit your needs.
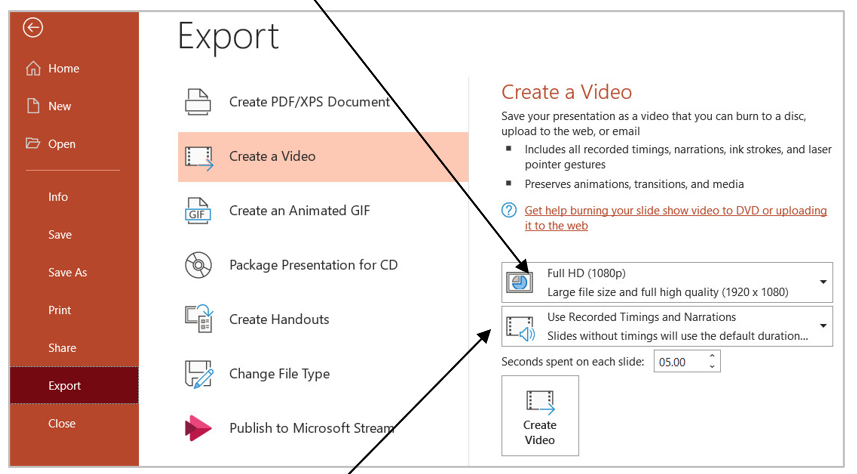
4. Make sure “Use Recorded Timings and Narrations” is selected.
5. Click Create Video.
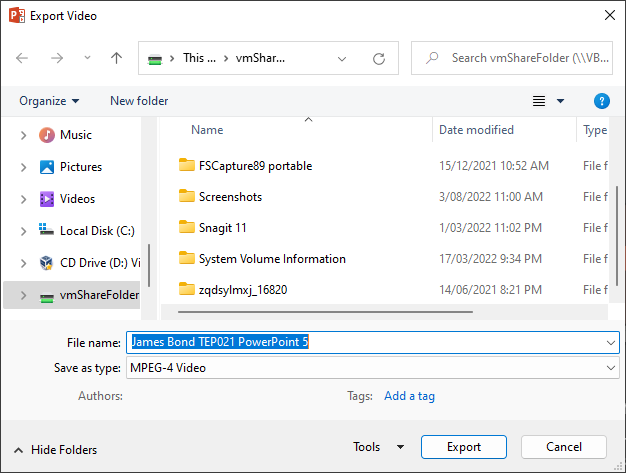
6. Change the filename to YourName StudentNumber DigiPrep PowerPoint6.mp4
7. Make sure it is MPEG-4 Video (that is mp4 video) and then click Export.
7. Click Exit when exporting is completed.
