
Activity – Word 7: Applying Heading & Text Styles
Applying Heading & Text Styles
[This section should take you around 20 minutes to complete]
Applying heading/Text style is quick and easy. Now, working with your already opened document (YourName StudentNumber DigiPrep Word6):
1. Select the title of the document: Basic Principles of Time Management
2. On the HOME ribbon, click the Title style in the Styles Gallery.
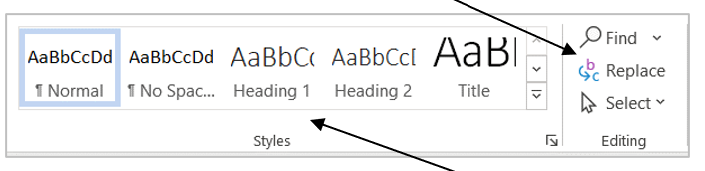
3. Select a paragraph heading and click Heading 1 style. Repeat this to apply the Heading 1 style to all paragraph headings in the document.
4. Save your document and keep it open.
Navigating a long document with Navigation Pane
Once you have applied Heading styles to all headings in your document, you can easily navigate around your document by clicking the headings in Navigation Pane.
-
- Click View and then tick the box for Navigation Pane to display the Navigation Pane.
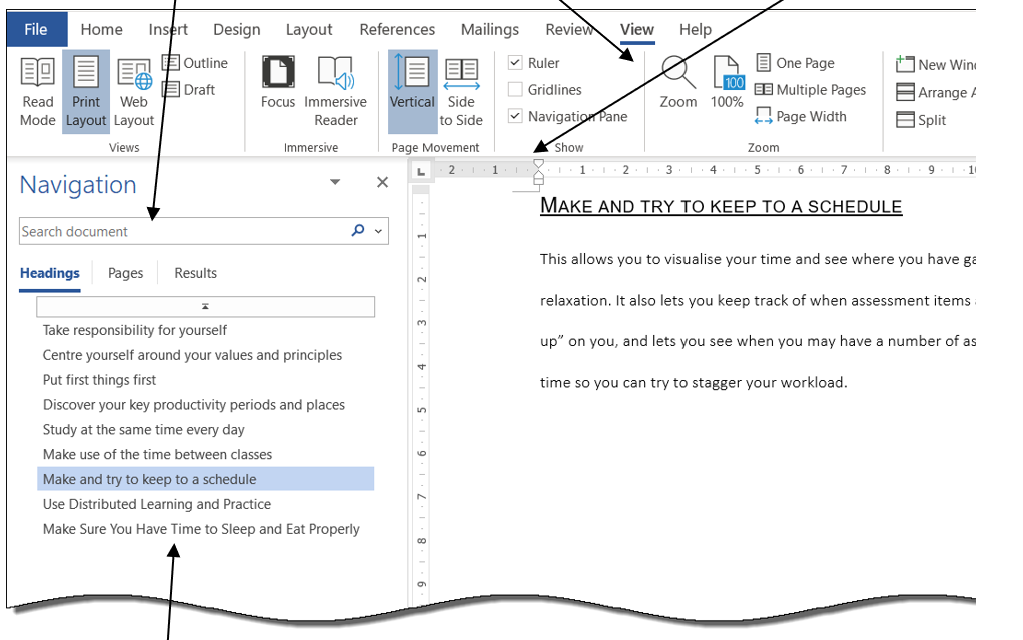
2. Click on a heading in the Navigation Pane to jump to the corresponding section of the document instantly. It is very helpful when you work with a long document.
Adding a Text Style to the Styles Gallery
Microsoft Word has many pre-defined text styles. However, when a new document is created, only the Recommended styles are available to use in the Styles Gallery by default.
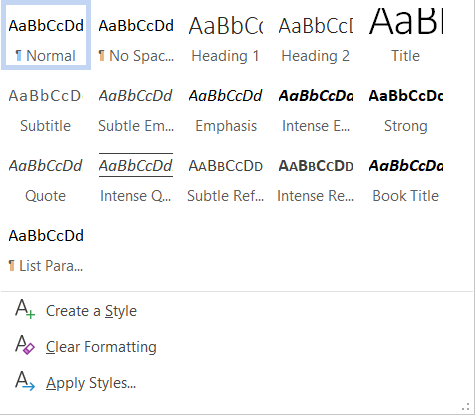
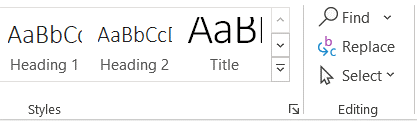
1. Click the More button to see all the available styles in Styles Gallery.
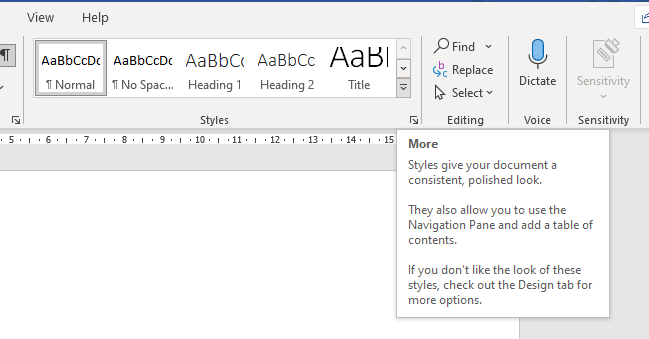
These are all the Recommended styles in Styles Gallery.
If you need some of the styles which are not in the Styles Gallery, you need to find them in ALL styles and then add the one you want into the Styles Gallery.
Now let’s find a style called Body Text 2 and add it to the Styles Gallery. Working with your already opened document (YourName StudentNumber DigiPrepWord6.docx):
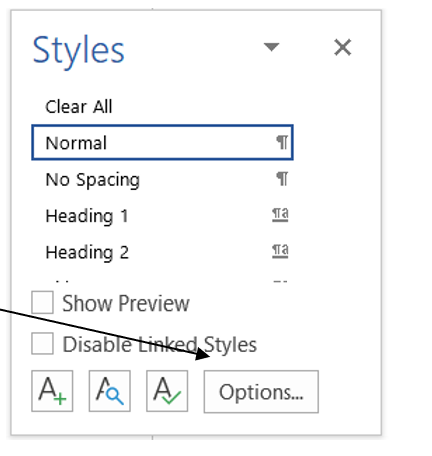
2. Click the Dialogue Box Launcher button of the Styles group.
3. Click Options at the bottom of the Styles list pane.
4. Click the drop-down arrow of “Select styles to show” and then select All styles
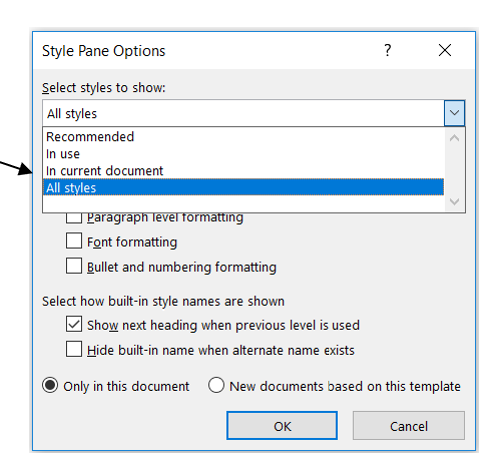
5. Click OK.
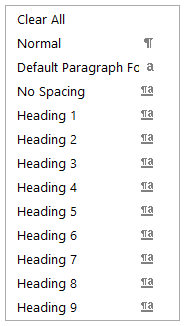
6. All styles are displayed in the Styles list pane.
7. Scroll the styles list to locate the Body Text 2 style.
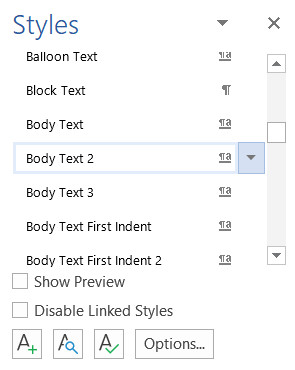
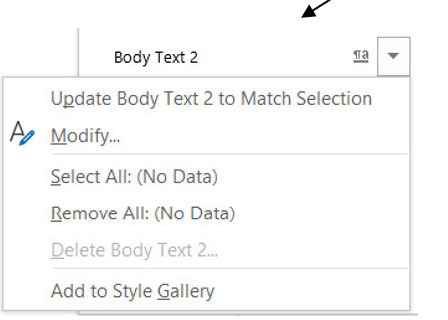
8. Move the mouse pointer over the Body Text 2 style, click the dropdown arrow when it shows up, and then select “Add to Style Gallery”.
A newly added style will not show up in the Styles Gallery until it has been applied to some text in the document.
9. Select a paragraph (any paragraph but not a heading) in your document and then click the Body Text 2 style in the Styles list pane to format the paragraph with the Body Text 2 style.
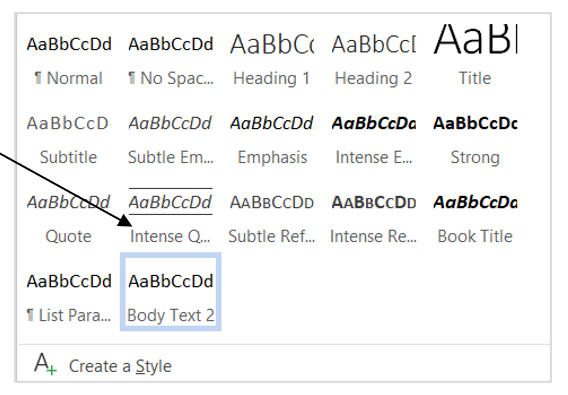
Now the Body Text 2 style should appear in the Styles Gallery.
10. Expand the Styles Gallery by clicking the More button if you don’t see the newly added style in the Gallery.
11. Now apply Body Text 2 style from the Styles Gallery to all paragraphs in the document except headings.
There is no need to add heading styles to Gallery
Microsoft has included 9 heading styles in Word, named as Heading 1, Heading 2 … up to Heading 9. But only Heading 1 and Heading 2 are shown in the Styles gallery by default. However, you don’t have to manually add any of them into the gallery. After you use a heading style, the next level heading will be automatically added into the gallery. For example, after you use the Heading 2 style, Heading 3 will automatically show up in the gallery, and after using the Heading 3 style, Heading 4 will automatically show up in the gallery, and so on.
Modifying Heading/Text Styles
Word allows you to change attributes/formats of a style to your preferences.
Follow the instructions below to modify the Heading 1 style in the document you are working on as follows:
- Font: Arial, size 14pt,
- Text format: Bold and Underlined,
- Colour: Automatic (automatic is the equivalent of black colour)
- Alignment: Left,
- Line spacing: 1.5
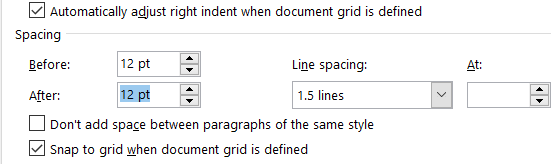
- Paragraph spacing: 12pt “before” and 12pt “after”
- Add to the Styles gallery
- Only in this document
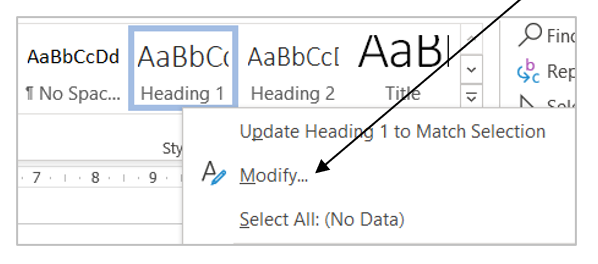
1. Right-click on the Heading 1 style in Styles Gallery and select Modify from the pop-up menu.
2. In the formatting section, change Font to Arial, size 14, Bold, Underline, Left alignment and 1.5-line spacing, Automatic font colour.
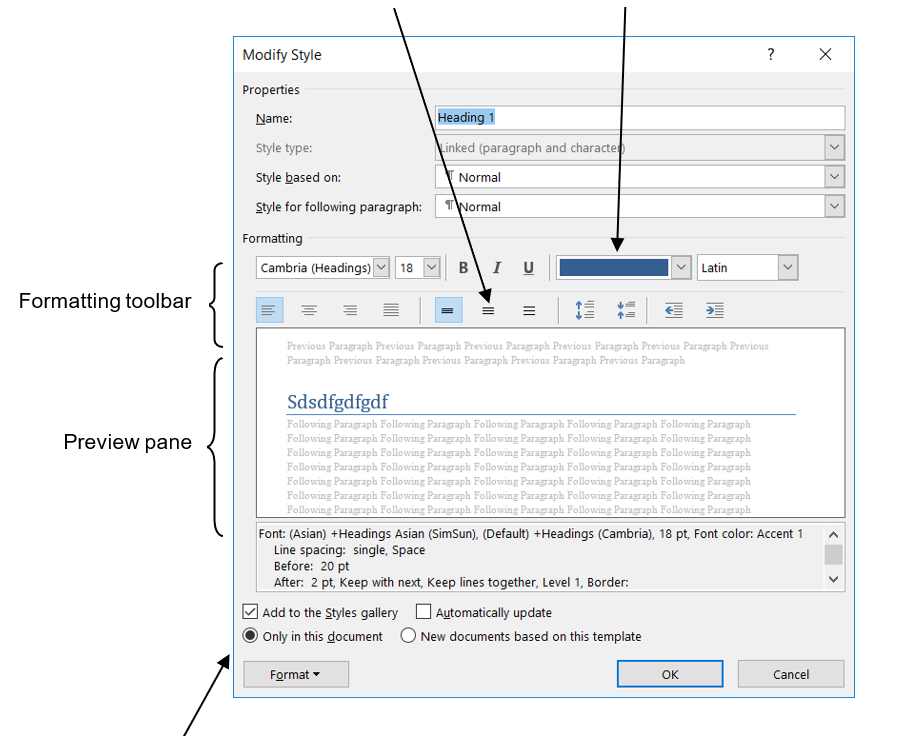
Formatting toolbar Preview pane
3. Select Only in this document if you are going to use the customised style only in the current document; or select New documents based on this template if you are going to use it for all new documents in the future.
If you select Automatically update, after clicking OK, Word will:
- Automatically update the formatting of the paragraph already formatted with this style, and
- Automatically redefine the style whenever you apply manual formatting to any paragraph with this style.
4. Click on the Format button and select Paragraph to modify paragraph spacing.
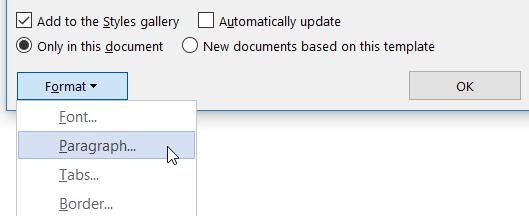
5. Change the paragraph spacing Before and After to 12pt.
6. Click OK twice to close the dialogue boxes.
The paragraph headings in your document will be automatically updated to the new formatting while you are modifying the Heading 1 attributes.
7. Save As YourName StudentNumber DigiPrep Word7.docx and keep it open.